RV-6 gets a Moonlite
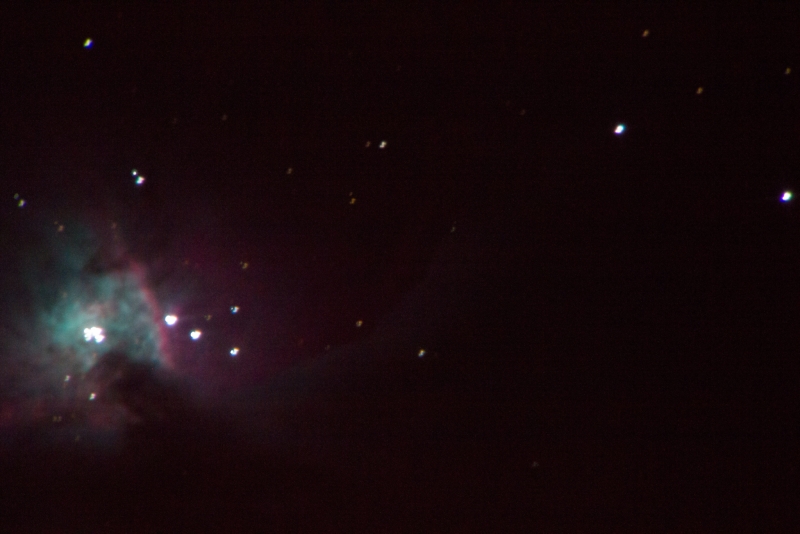
After diving head first into astrophotography I’ve come to find out that a few of my decisions that were made intending to save money ended up actually costing more in the long run. Case in point, buying my AVX mount without spending an extra $100 on the version that came with a 6″ Newtonian telescope ready to go for hooking a DSLR too.
But I suppose its not a total loss, I’m actually learning quite a bit. So getting back on topic, my amazing old RV-6 optical tube I picked up from a gentleman in Florida was in need of an upgrade. For normal visual use the RV-6 is quite amazing, and the focuser on it even though simple does work quite well. The problems start when you start trying to balance a DSLR on there. With no thumbscrew to hold the eyepieces or camera in place everything wobbles around like crazy, blurring pictures, dropping things on the ground if you forget the tube rotates when its slewing about, etc. Its really just not made for this kind of use and since I really liked the old RV-6 I decided to go ahead and replace the focuser.
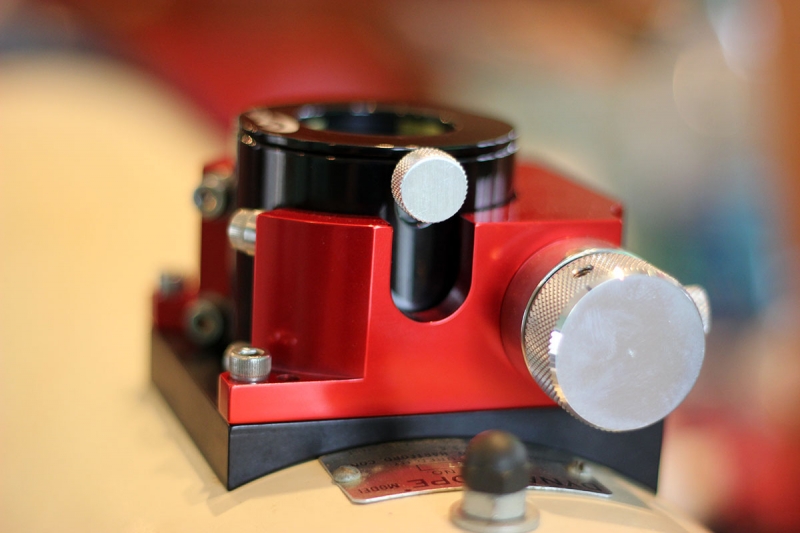
After measuring and reading up on what was on the market the only real option was a Moonlite focuser. The Orion, Synta, Feathertouch, etc focusers all seemed to be at minimum 1.6-2 inches tall at minimum height. Moonlite’s are short little things right around 1.5 inches tall which is really important for DSLR’s and prime photography . They also have a reputation that is hard to argue with, a build and finish that match that reputation, and a set of options that will fit just about any configuration you have.
So I won’t go into all the numbers and math I did but I ended up getting a Moonlite that had a 2″ standard drawtube, and a triknob with shaft lock. In hind sight I think a shorter drawtube would have been better, but more on that later.
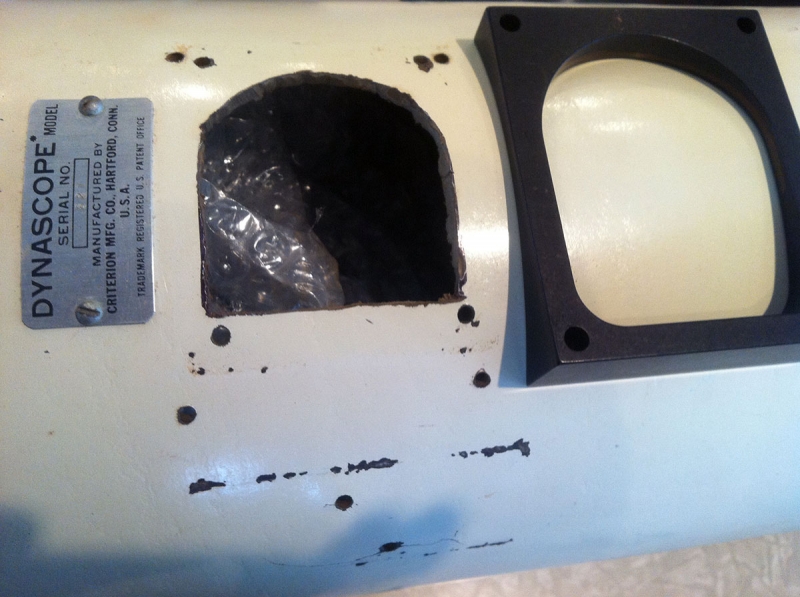
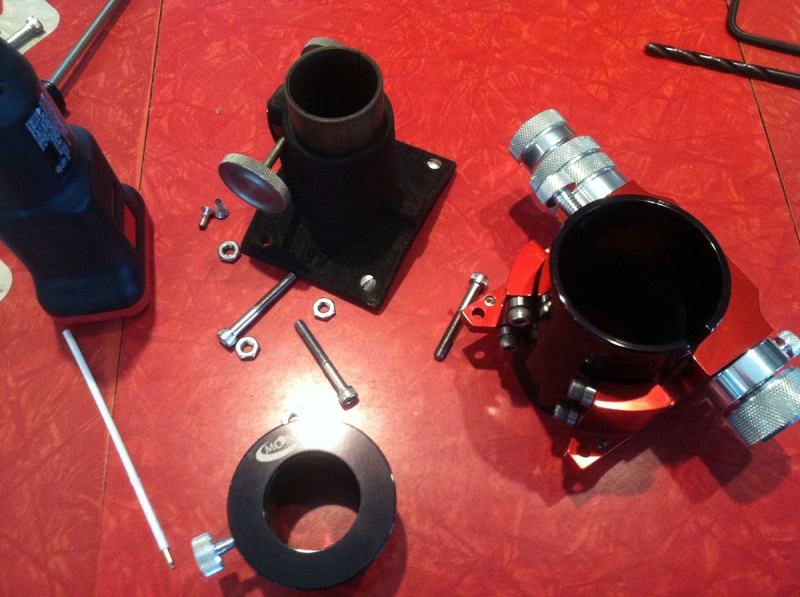
When I ordered the focuser i also got a 7inch curve adapter which fit the RV-6’s diameter perfect. I tried very hard to not cut a hole that interfered with the original focusers mounting points. This way the Moonlite can be removed and the original focuser bolted back on if needed, it seemed important to make sure any changes made were reversible since RV-6’s are such a classic telescope. Cut the hole with a Dremel and steak knife making sure to protect the mirrors during. Bakelite cuts super easy.
Old and new, quite a difference.
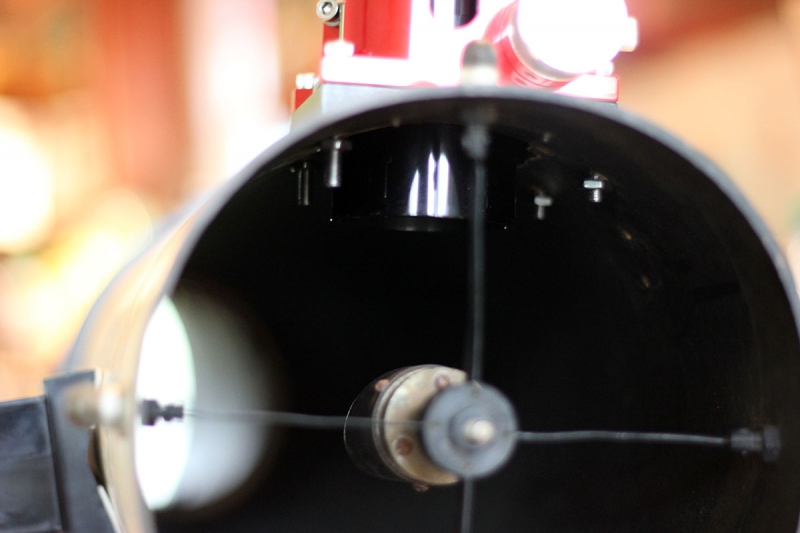
Going back to that 2″ drawtube, it kind of blocks quite a bit of light. If I were to do it again I would order a 1.5″ drawtube and a bunch of extensions. Still have not decided if I’m going to trim those bolts, and what to paint them black with.
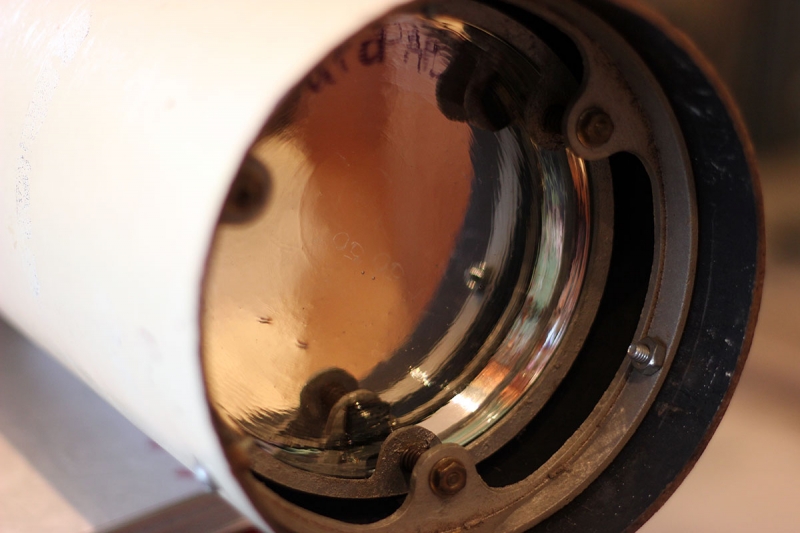
So to reach prime focus with my DSLR’s the Moonlite helped a lot, but was not quite enough. I thought about adding longer bolts on the mirror assembly to push it about an inch further up the tube, but then realized that the frame could just be flipped in the tube for an extra inch.
This worked out great! Focus for my Canon was actually now about a half to quarter inch above the top of the focuser now. Right where the picture above shows it.
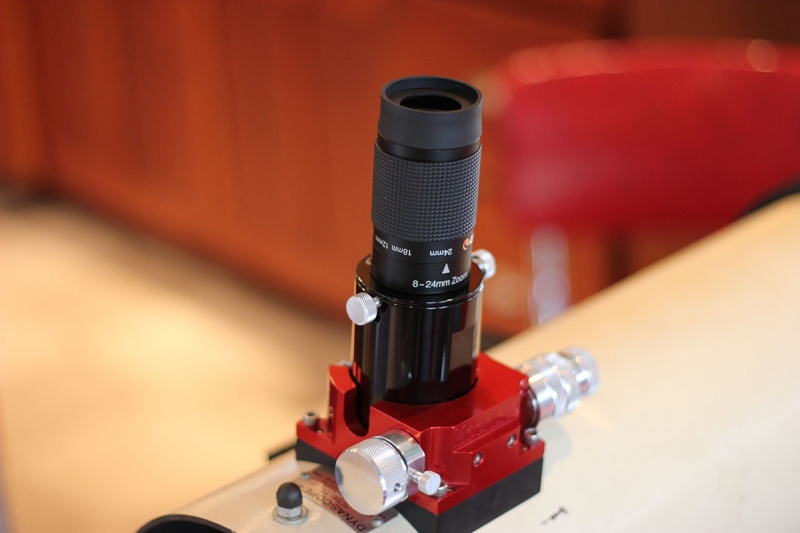
And here it is with my only 1.25″ eyepiece, not bad looking! Only problem is that when flipping the mirror frame to push the prime focus location further out, now the eyepiece is just barely in focus when the drawtube is fully extended. So now I need to shop around for a one inch drawtube extension to fix that. But, no more wobbly or dropped eyepieces or DSLR’s! Now the old RV-6 can be used for another 50 or more years to come.
EDIT:
When I got the telescope it was missing its tube rings and apparently no one sells 7.5 inch tube rings which was a bit of a problem. Its sort of important that you telescope can be mounted on its mount if you plan on getting anywhere. For any RV-6 owners out there that are missing their tube rings, you can use a set of modified Orion 182MM Tube Rings. The rings are not rotatable and the hole on both size of the hinge where you bolt them together is threaded. Also, the OD of the RV-6 tube is around 7.5 inches, the diameter of the Orion rings are 7.16 inches which makes things tight.
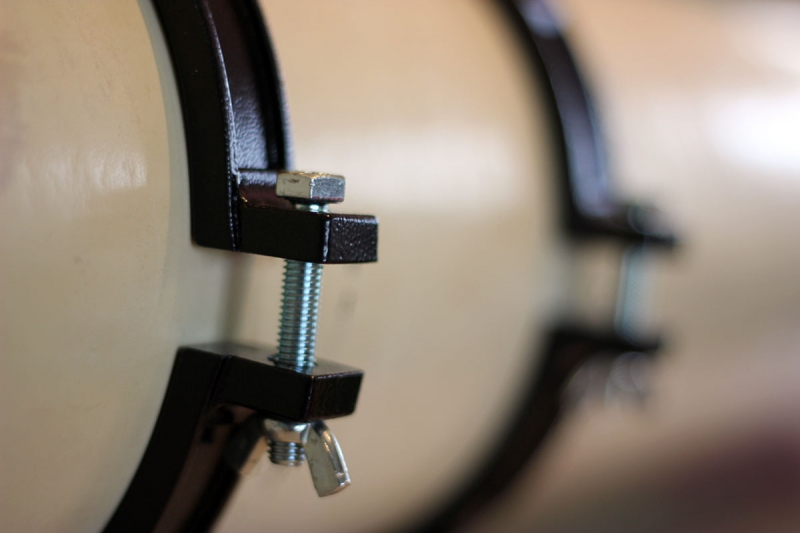
Good news is that its super easy to get around this. I ended up drilling out the threads on one half of the rings (the side the wingnuts are on) and then bought a pair of wingnuts and some 2 inch bolts. This way the tube can rotate with no issues. You could also get away with just using a smaller diameter bolt that was longer, and maybe just epoxy the bolt head end so that it cant spin when you adjust the wingnuts.

