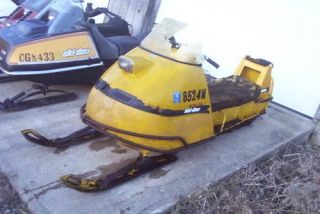
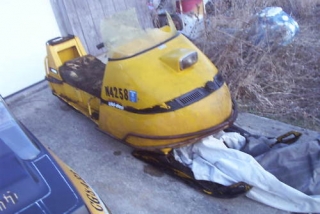
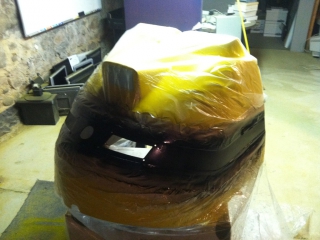
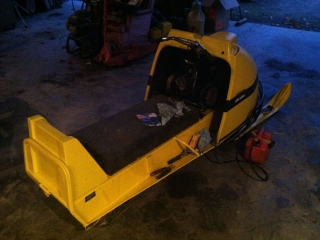
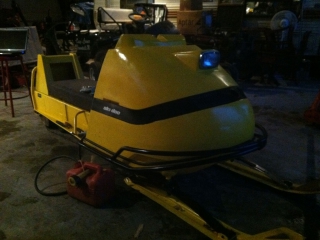
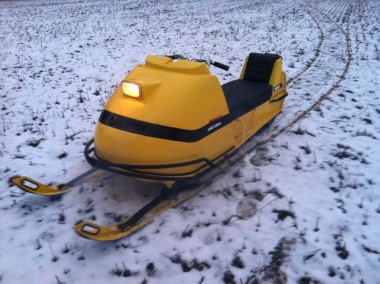
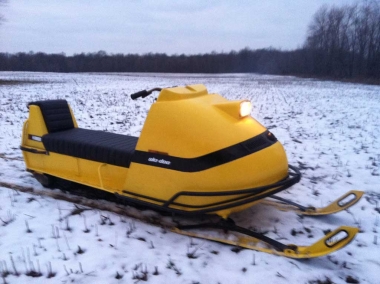
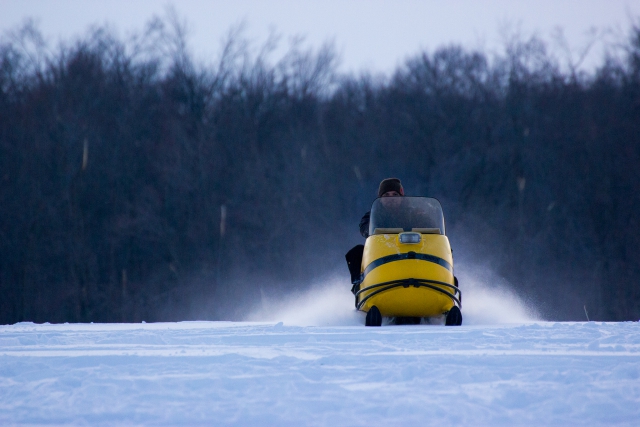
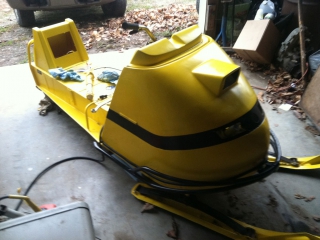
Heres an update on Oly that was started back in the middle of July, see this post. When I found the old Skidoo on Ebay, it looked like this…
Which doesn’t look too bad, but after getting it home and tearing into it turned out to be pretty rough.
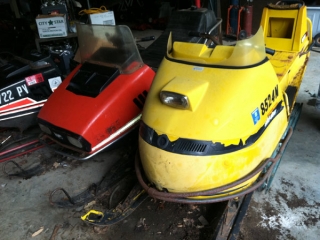
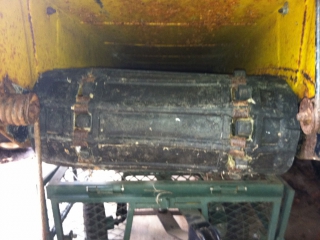
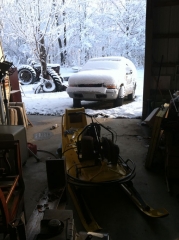
I knew that the track was pretty shot and would need new cogs so that wasn’t really a big surprise. So I ended up getting an old Nordic or TnT, can’t remember what it is, for the track.
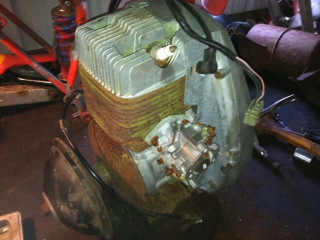
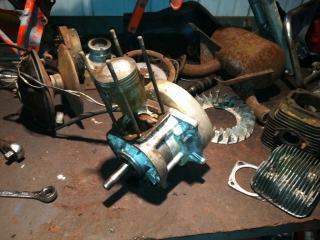
After I got that stuff lined up I started tearing into the motor, and finding that the old 300 had spent way to much time outside. It was froze pretty good with the piston past the ports which let a bunch of water get down in the crank which killed the crank bearings.
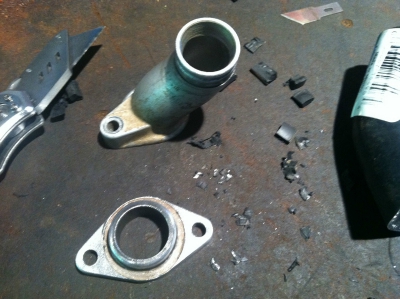
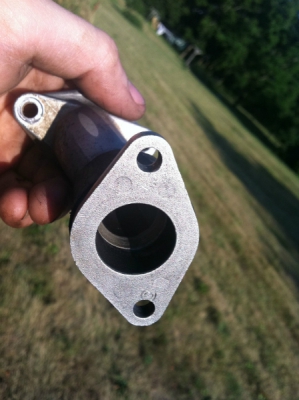
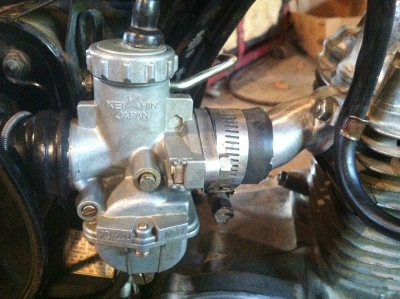
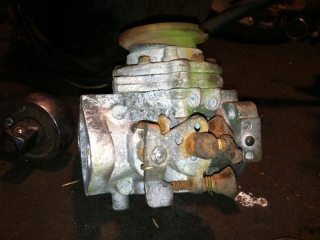
The carb wasn’t much better and I ended up breaking off the lowend needle trying to get it unstuck-0-fied. Since then I picked up a new engine which I thought was a 247cc out of an Elan, but ended up being a 335cc with a 247’s flywheel cover and serial number. Which is cool and all, but it cost me about $50 dollars in gasket sets trying to figure out what the hell it was. I ended up getting a pair of calipers and measuring the bore and stroke then comparing that to what I could find for motors in the old Rotax service manuals. I ended up grabbing a couple of old HR Tillitson carbs to replace the junk one at the A-1 Swap Meet and Show a couple of weeks back and got a tach for the dash, cause ya know, tachometers are cool.
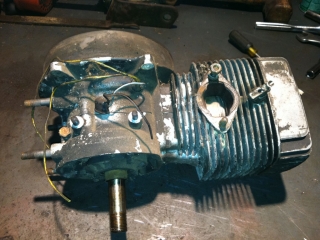
So thats the new motor, it has good bearings and nice compression so it should be okay, but I’ll deal with that when the time comes. At the moment it is all back together and painted with new seals and gaskets, but the recoil is giving me fits. I ended up getting another one off ebay and just need to rewind it with some new rope and put a handle on it.
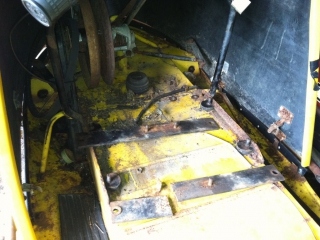
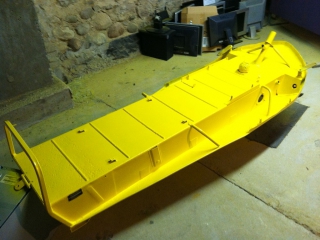
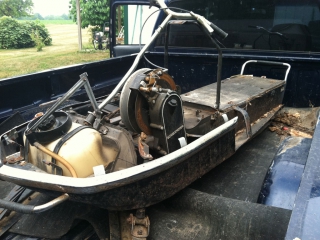
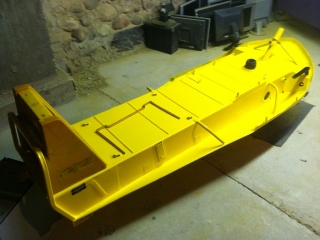
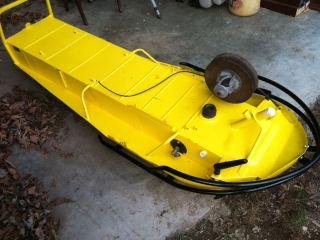
The tunnel on the Oly ended up being kind of rougher then I though, also check out the broke motor mount. The tank had a bunch of holes in it, there was bondo everywhere that was cracking and rusting and lots of pinholes down the top of it. So since I’m already way over budget and it was already torn down anyways with the motor getting worked on and the track off for new seals/cogs/track I decided just to clean the tank and seal it and paint the tunnel. For the tank I ended up cutting a 3.5 inch hole in the underside of the tunnel into it and scraped out a good gallons worth of nasty freaking sediment and this brown varnishy gunk that would turn to liquid when touched, but harden after about a minute of letting it set. Kind of the opposite of corn starch. After that it was hosed down with brake clean and water and then I welded the hole back up. After that it was just the normal POR tank sealer steps, clean, etch, and seal which I’m glad I did since there was a bunch of tiny holes I didnt see that the sealer started leaking out as it plugged them. Then after a quck sand blasting and rustoleum primer soak, I hit the rest of it with Krylon Sunbeam since it looked close enough and called it good. Still a lot to do, but getting closer.
A quick break down of cost with the goal being $100
$75 – 1969 Ski Doo Olympic 300cc
$30 – Parts snowmobile for track
$50 – Drive sprokets/cogs
$70 – Gasket kits/parts/rope
$20 – Track axle bearing seals
$115 – Paint/primer/sandblasting sand
$48 – POR 15 tank sealer
$25 – A-1 Swap meet. Tachometer, two carbs, headlight bulb and bucket.
Total – $393
Update 11/17
Worked on getting the seat rest back together and cleaned up, also ordered some more Kyrlon Sunbeam since I bought all of it that was at True Value and Walmart. Yellow all the things!
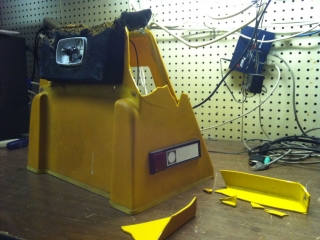
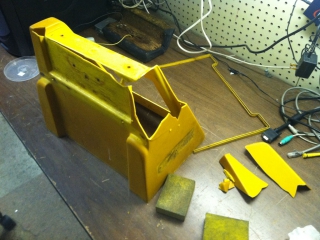
After I got all the clips off and what was left of the seat, the backrest was a lot more screwed up then I thought.
So a movie and a bunch of stinky plastic expoxy later it looked like that. Felt like I was glueing a vase or soemthing back together. I also took my dremel and drilled out all the ends of the cracks to keep them from spreading any farther. The bumpy cracks should sand down pretty good and as soon as more paint shows up I’ll clean it up and make it match.
Update 11/21
Over this weekend I managed to get a few more stuff finished up on Oly. The track is now on *cough*backwards*cough* and the front bumper is attached so its easier to drag around. Also managed to get the speedo drive modified so it will work with the Olympics drive axle.
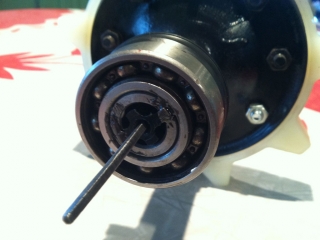
The part TnT sled had a wider drive axle, so that couldn’t be swapped in. So my buddy Chad ended up taking it to the chainsaw sharpener to slot the end of the Olympics drive shaft so the speedo insert would fit. He wanted it to float in there a little loose and made it wide, but when it came out of the Tnt’s shaft it was pressed in there pretty good. I didn’t feel comfortable letting it fall out in there and get chewed up against the bearing so I stuck so jb weld on it to keep it in place.
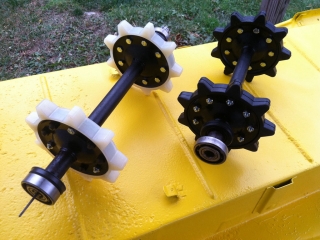
New Kimpex sprockets/cogs/drivers whatever they are called installed, bearings cleaned and new seals on.
And here it is with most of the drivetrain back in. I didn’t realize it tell afterwards but the track off the Tnt was directional and I put it on backwards. I don’t think it will be a big issue with the 18hp but if it is I will spend another three hours swearing at it then. So, now just waiting for more paint to get the hood, seatrest, and skis all done.
Update 11/28
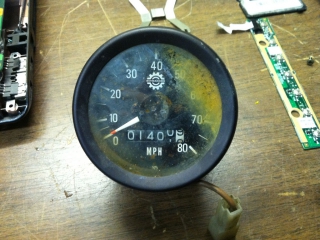
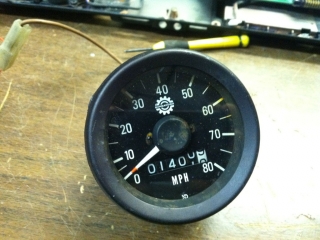
Over the long Thanksgiving break I managed to get a bunch of stuff caught up on the old Ski Doo. First off, I started cleaning up the speedo that came off the donor Tnt sled. It was sitting on the running board that was full of water so a bunch of crap got in it and dirtied up the glass. So I popped the bezel off and scrubbed the glass down the best I could, then put it back together and sealed it up again with some new black rtv.
I really want to do something fun with the gauges, maybe some yellow LED’s, or some RGB ones that are hooked up to an Ardunio so you can change the color. So I’m looking around now for a decent rectifier/regulator to get some 12v out of the lighting coils and a battery to keep headlight from dimming too much on idle. Heck, I may even put a usb charger port on it for my phone, or some EL wire in there to brighten things up. But for now, getting it running is before the electrical toys.
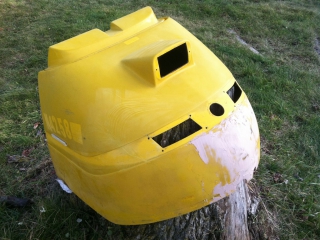
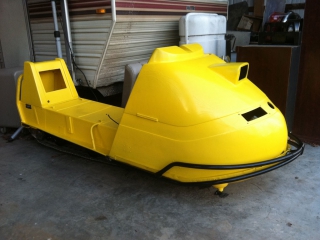
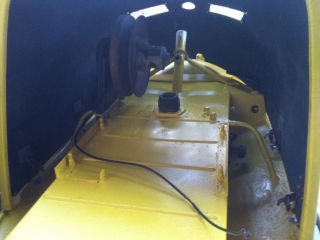
Cleaned up the hood and got the old stickers and gunk off it, then added a bit of bondo to smooth the old nose repair job someone had done. Its not perfect but its better. I did think about grinding all the cracks out and filling them but the weather was changing fast and this is a rider, not a show sled. I really don’t want to be paranoid about scuffing or cracking the hood up while tossing it  around the trails and fields. Its funny how fast they start to look like snowmobiles again when you get the hood back on.
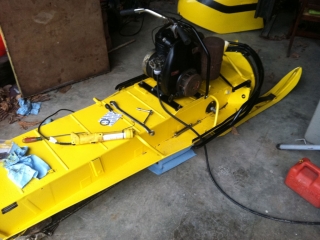
Sunday I managed to get most of it back together and my buddy Chad came over and helped me swear at the Tillotson for awhile trying to get it running. Quickly found out that the starter pully was worn out so a new one of those is on the way now. Did manage to get it running for a brief bit and holy son of a donkey does that Rotax shake! It only ran for a second before it flooded, tore the carb back apart and the Windorosa kit had a leaking pump diaphragm at the center rivit. Put the old pump gasket back in it and then it stopped getting any gas. So after reading up a bit, I’m going to try to swap out an older spring, seat, needle, and fulcrum from one of the older tillys in the part box in hopes that they are original. If that doesnt work I’m making a pop off gauge.
Had some over spray on the hood stripe, so brought it to work today to touch it up.
Update 12/5
Well, since it snowed I have been hammering away trying to wrap up the last few things left on the Oly.
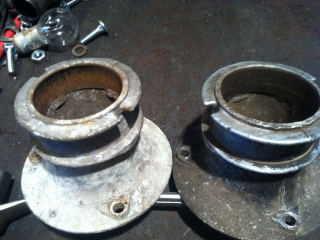
So since the two starter pulleys I had are junk and have no teeth left in them, I had to get a replacement or spend the rest of winter swearing at the recoil everytime I wanted to start it. The one on the right was worn down through the steel insert and into the aluminum. I really have no idea how someone could have worn it that far down if it had nothing to grip on. No pics of the new one, but it is shiny, teethy, and awesome.
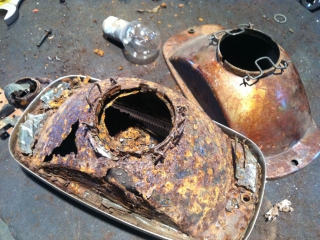
After getting the recoil all back together and rewound, I moved on to getting stuff back on the hood. The new headlight bucket I got from Goose next to the old one thats crumbling away. Then after that I tried to get it start, and the old Rotax decided to let out a couple of awful backfires that blew chunks of what was left of the mufflers internal packing everywhere. And then it decided it wasn’t going to run anymore. So since the total time I had heard it run up to this point was around 40 seconds, I decided to check out the timing and make sure it was on. Back off came the recoil and pulley and I set the points to .018 and checked the armature gap which was also out of wack. Put it all back together and no spark. Messed around with it for an hour or two re-cleaning and setting the points and then I finally gave up and tore the flywheel and cover back of the thing, gave the points another good cleaning and checked everything over. Nothing really looked messed up, no bare wires grounding, nothing touching where it shouldn’t have been, but I did find out that the timing advance on the flywheel had a broke spring and was stuck hard all the way to one side. So I fixed that, put it all back together and had good strong spark finally. I blame the back firing on the advancement being screwed up, but have no idea what was up with the spark going away.
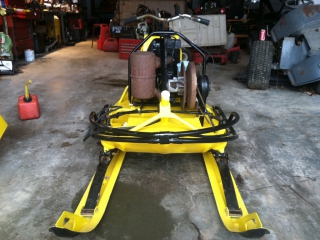
So after that it started on the first pull, and sat there and idled great. So now the last few things that need to be done are find the fuel tanks pickup I lost, get the wiring sorted out, and beat the living crap out of the secondary clutch until it decides to move again. Oh, and brakes, brakes are good.
Update 12/29
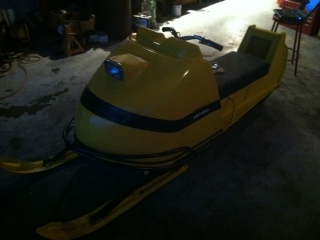
Almost there, needs some more tweaking and a few more small bits.
Update 2/17/14

