07/30/14

Fun with a Bausch and Lomb Cinemascope with Vid-Atlantic clamp

Long title, eh? So recently I ran across post on Petapixel.com about using anamorphic lenses with DSLR’s for ether video or stills. However the cost of most anamorphic lenses are crazy high, it seems that the demand has really ramped up on them. So while trying to figure out a cheap way around the problem, I decided the best bet was to head straight into the depths of Ebay and see what floated to the top.

After a good long while of poking around I finally found something cheap, it was a Bausch and Lomb Cinemascope 2x anamorphic projector attachment for roughly about $25. It was not pretty, but looked to be usable still and at $25 bucks I felt it was safe enough to just take a gamble on. So the big old lens showed up a few days later in the mail, and holy cow was it built well. This is not a light lens. This is a very, very, heavy lens with some seriously thick glass. Its really quite impressive. When this was in use, it would have been mounted on the front of a projector to take a squashed Cinemascope film, and stretch it to twice its width creating the more familar wide screen films we are used to seeing. Its kind of neat to think about how many movies may have filtered through this lens over the years. More information can be found here

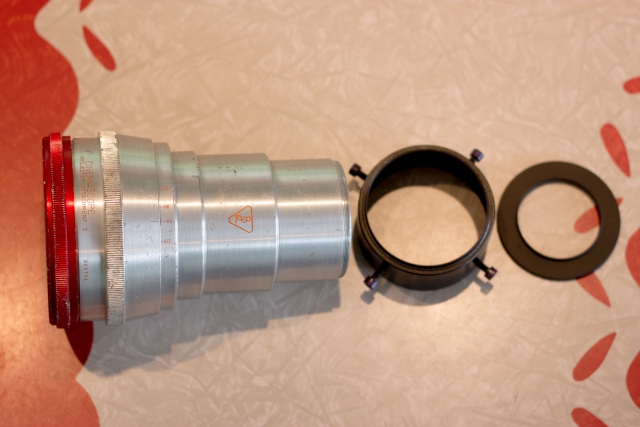
Vid-Atlantic makes the most popular Anamorphic lens clamps and accessories for anamorphic lenses, so after a quick few measurement an order was placed for their 72mm Anamorphic Lens Clamp, and another for a 50mm to 72 mm step up ring from Adorama so that I could attach the whole mess to the front of my 50mm lens. So here is the whole kit ready to go;


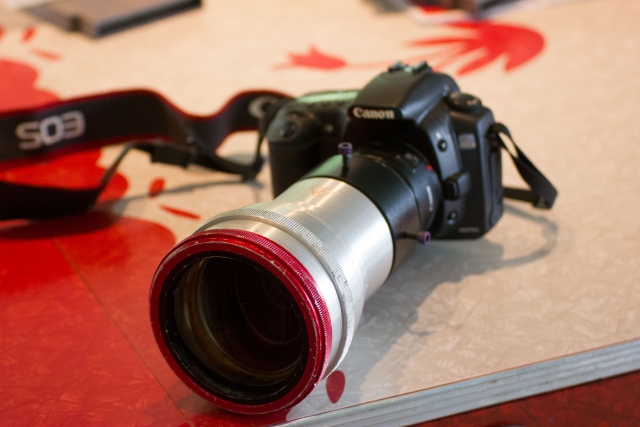
And here it is all assembled and attached to my Canon 20DA along with the little plastic nifty 50mm 1.8.


From here out I was using my Canon T2i in place of the 20DA.


First things first, for projector attachments you need a lens between the anamorphic lens and your camera. This is because all the aperture control and half the focusing has to be performed on the camera lens.

If you end up with a heavy anamorphic lens, or a B&L like I got, make sure the lens you attach it to has a metal body and is well built. There is a lot of weight hanging off the front of your camera with the adapter/anamorphic attached, and using the nifty 50mm with its plastic body is a bit scary. It always seems like its right on the edge of breaking in half or busting something. Also when picking a lens to use make sure you get one that doesn’t have a rotating face, as the anamorphic lens has an actual up and down, and if your lens face is spinning its also going to spin the projector lens and mess its alignment all up. Also turn off autofocus if your using a newer lens, you don’t want to kill your lenses focusing motor or gears having it trying to move that giant chunk of aluminum you screwed to the front of it. One more thing to note, depending on what anamorphic lens you wind up with, you may not want to go any wider then a 50mm or 55mm lens as vignetting can occur in the corners. My 70mm works fine, but the nifty 50mm as you will see is right at the limit and 95% of the time cuts the  corners out. Vid-Atlantic recommends getting a Helios 40-2, which I assume is because of build quality, flares it produces, and focal range. Flares are somewhat dependent on the lens you choose as well.


Anyways, with that out of the way time to go shoot some stuff. First thing that you’ll notice is that images seem to be harder to focus, because they are squashed horizontally. Its can be hard to get a feel for when your in focus, and when your out, although I imagine with practice that can get better. Shot composition gets a little trick because of this, since everything you see on the camera is distorted, but again with practice it gets better. When shooting the focus ring on the lens is hard to reach behind the big old B&L adapter. So much so that I resorted to jiggling my camera vertically most of the time in order to rack the lens out since I couldn’t get my fingers on it. I assume that part of this was the poor little plastic bodied lens binding from the weight. I ran into a few times where the lens step up filter was trying to unscrew its self, or times where it became loose. This can really upset a picture if your anamorphic rotates away from its correct position. Think of it like taking a square thats your picture, then if you turn the projector lens on the filter its squashing that square into a parallelogram. But a quick twist of the B&L straightened things back out.

Focusing I would say was the biggest issue. I have heard that some people say these lenses are fixed for 50′-200′ focal ranges as that’s the distance they would be normally be projecting to a movie screen. However, I was getting shots at 15′ and even 5′ sometimes that were clear. It was much easier to focus at 50′ plus, but closer shots did seem possible. The close shots seemed somewhat random though as most would up blurry, so more experimenting is needed.

On to the shots!

Edit: Threw in a few flair shots since some people may be interested in them. Its actually rather hard with the 1.8 mounted to get it to act up unless you shove its nose directly into the sun.


You can see a few of the corners on the above files are a bit cut off with the Canon 50mm 1.8, but it seems to shift a bit and sometimes goes away depending on the lens rotation. As before, a longer lens like a 55mm+ would clear that up.


So what do these images actually look like when your looking through the view finder and on the camera? Here’s an example of one that I liked and how it turned out:

Processing time, expanded width by 200%

Post work

Remember that when shooting with an anamorphic lens your camera is taking in the same amount of data it normally would for videos or a photos, when you stretch it your losing about half your horizontal data/quality. Just something to keep in mind if you notice the quality seems a little off to what your used to when your reviewing your shots.

And here is a short, but bad test video I did with it on the T2i. I was just holding it with no support so its a bit wobbly and out of focus;

 

07/23/14

Clouds!

Forgot to post this a while back, but had some fun with my Canon out in the middle of a field. Lots of fluffy clouds rolling by between storm fronts.


06/3/14

More Space

I finally have got my telescope mount and guide scope all working together so that it can actually track stars now and keep pictures from blurring. Its really kind of cool to target a single star and then walk away knowing  that the same star will be locked in view, I mean that’s just nuts! The earth is zipping around the sun, spinning and the sun is spinning around the center of the galaxy, and the galaxy is spinning around galaxy clusters, and in a corn field this goofy tripod plugged into my old pickup is keeping the whole mess locked in frame.

Anyways, I made a camera cradle to hold the guide scope and my camera and messed around with that this weekend. I was going to try to get some pictures of maybe a larger galaxy or some random nebula, but decided to go back to the North America Nebula. Three reasons for this;

1. I wanted to photograph something big since I was using my Tamron 70-300mm telephoto lens which can’t reach out like a telescope.

2. I wanted to see how my Canon T2i stacked up to my Canon 20Da when taking picture of hydrogen clouds. For those that may not know the 20Da is about quite a bit older then the T2i, but has a special filter on the sensor that’s more sensitive to light waves from hydrogen.

3. I had a crummy unguided picture I took of the North America Nebula already and I wanted to see how much better I could do on round 2.


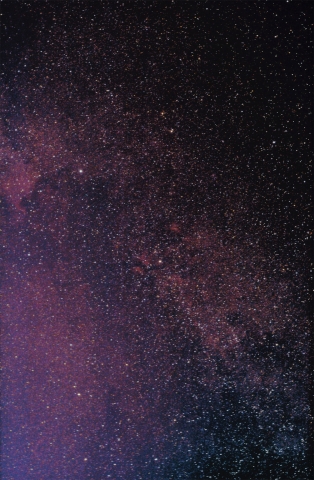
So here is the first picture, this was done back in April with the 20Da and a 50mm lens near day break which made the picture expose kind of funky. You can see the cloud that looks like North America in the top left.


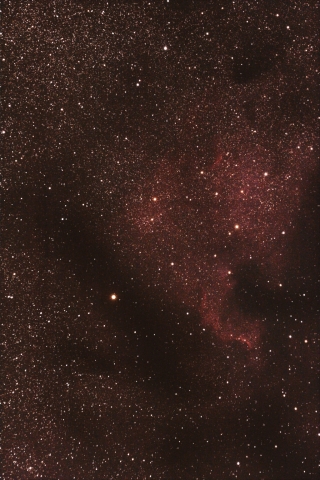
And here was from Saturday nights attempt with the 20Da and the 300mm lens.


I think that I can do better yet, but its actually starting to look like something. The last picture was about 10 minutes worth of exposure, I did a half hour with my T2i but nothing showed up, which means the 20Da does seem to have the upper hand when working with hydrogen nebula’s. Anyways that’s enough ranting from one day, has been fairly quite so I figured I’d post something.

Also here’s a snowmobile in space

no images were found

04/13/14

RV-6 gets a Moonlite

After diving head first into astrophotography I’ve come to find out that a few of my decisions that were made intending to save money ended up actually costing more in the long run. Case in point, buying my AVX mount without spending an extra $100 on the version that came with a 6″ Newtonian telescope ready to go for hooking a DSLR too.

But I suppose its not a total loss, I’m actually learning quite a bit. So getting back on topic, my amazing old RV-6 optical tube I picked up from a gentleman in Florida was in need of an upgrade. For normal visual use the RV-6 is quite amazing, and the focuser on it even though simple does work quite well. The problems start when you start trying to balance a DSLR on there. With no thumbscrew to hold the eyepieces or camera in place everything wobbles around like crazy, blurring pictures, dropping things on the ground if you forget the tube rotates when its slewing about, etc. Its really just not made for this kind of use and since I really liked the old RV-6 I decided to go ahead and replace the focuser.

After measuring and reading up on what was on the market the only real option was a Moonlite focuser. The Orion, Synta, Feathertouch, etc focusers all seemed to be at minimum 1.6-2 inches tall at minimum height. Moonlite’s are short little things right around 1.5 inches tall which is really important for DSLR’s and prime photography . They also have a reputation that is hard to argue with, a build and finish that match that reputation, and a set of options that will fit just about any configuration you have.

So I won’t go into all the numbers and math I did but I ended up getting a Moonlite that had a 2″ standard drawtube, and a triknob with shaft lock. In hind sight I think a shorter drawtube would have been better, but more on that later.


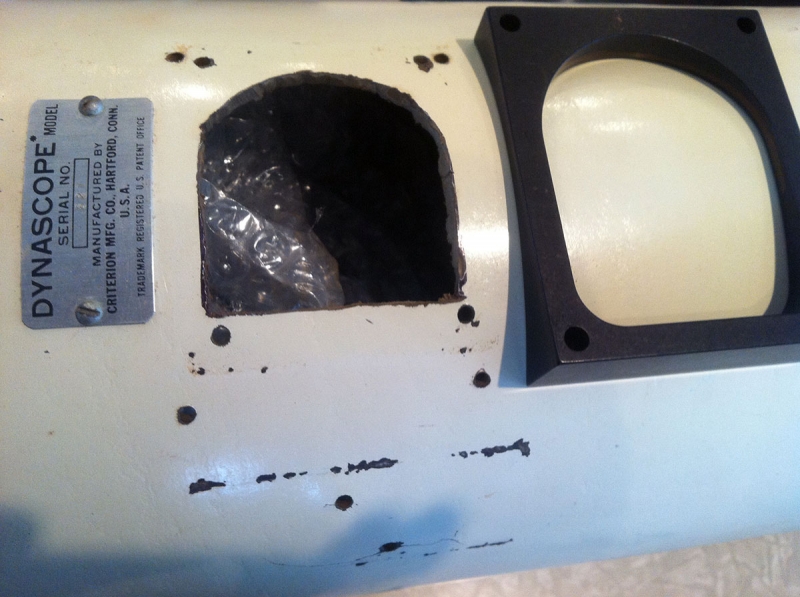
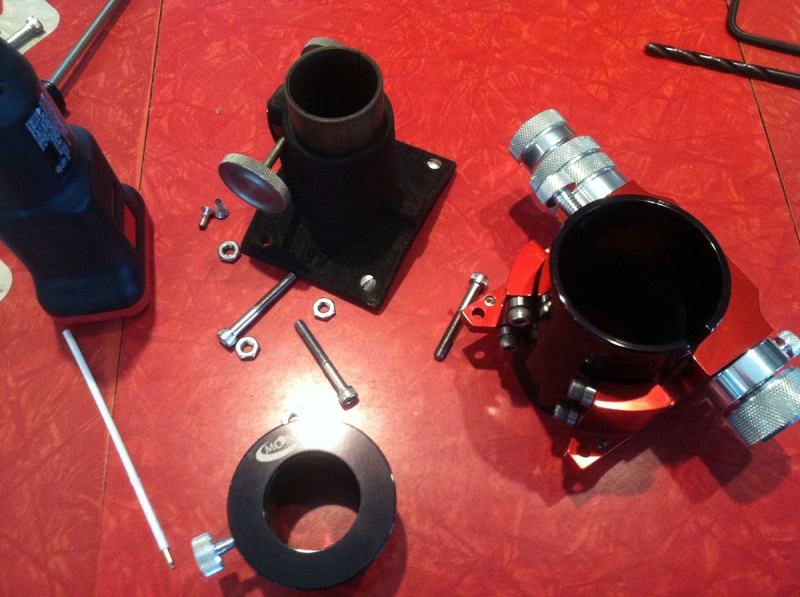
When I ordered the focuser i also got  a 7inch curve adapter which fit the RV-6’s diameter perfect. I tried very hard to not cut a hole that interfered with the original focusers mounting points. This way the Moonlite can be removed and the original focuser bolted back on if needed, it seemed important to make sure any changes made were reversible since RV-6’s are such a classic telescope. Cut the hole with a Dremel and steak knife making sure to protect the mirrors during. Bakelite cuts super easy.


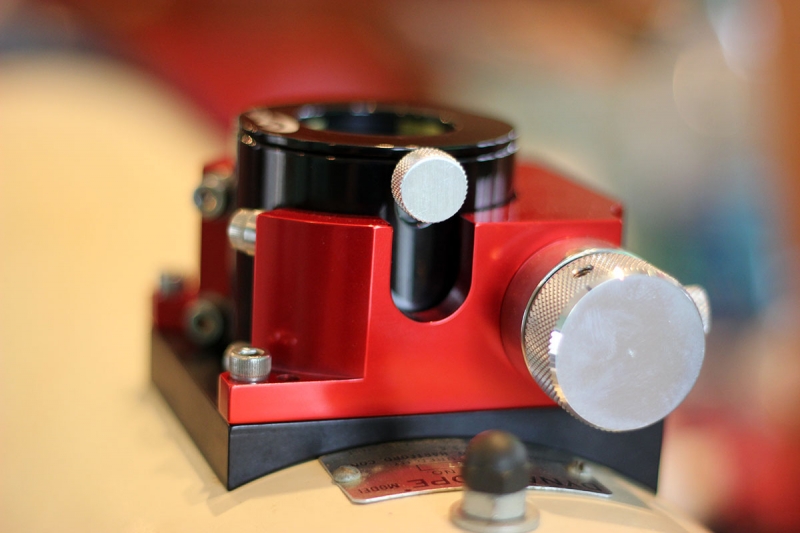
Old and new, quite a difference.


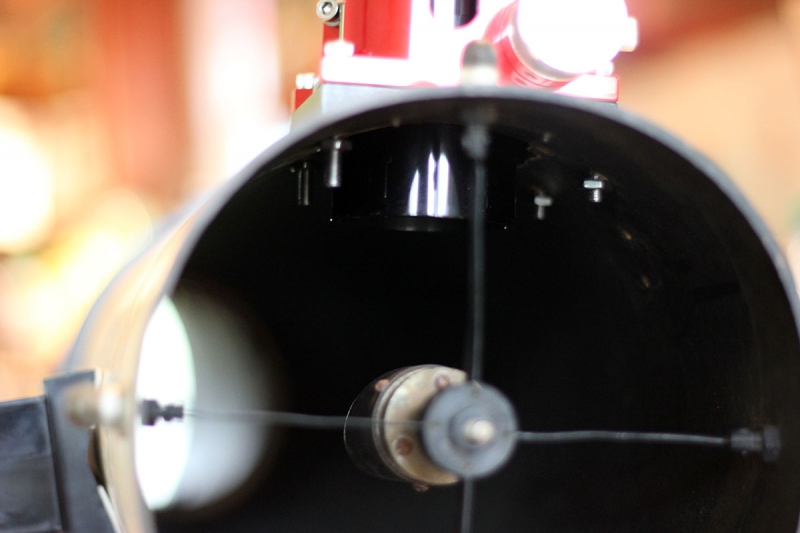
Going back to that 2″ drawtube, it kind of blocks quite a bit of light. If I were to do it again I would order a 1.5″ drawtube and a bunch of extensions. Still have not decided if I’m going to trim those bolts, and what to paint them black with.


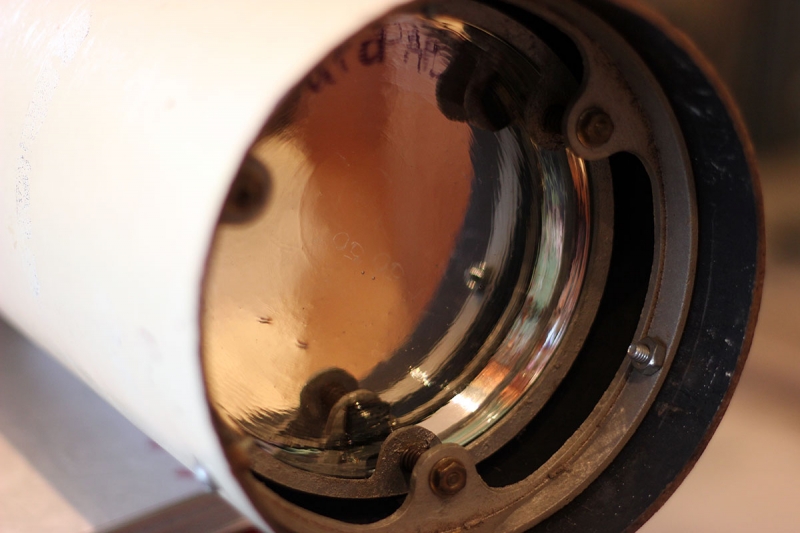
So to reach prime focus with my DSLR’s the Moonlite helped a lot, but was not quite enough. I thought about adding longer bolts on the mirror assembly to push it about an inch further up the tube, but then realized that the frame could just be flipped in the tube for an extra inch.

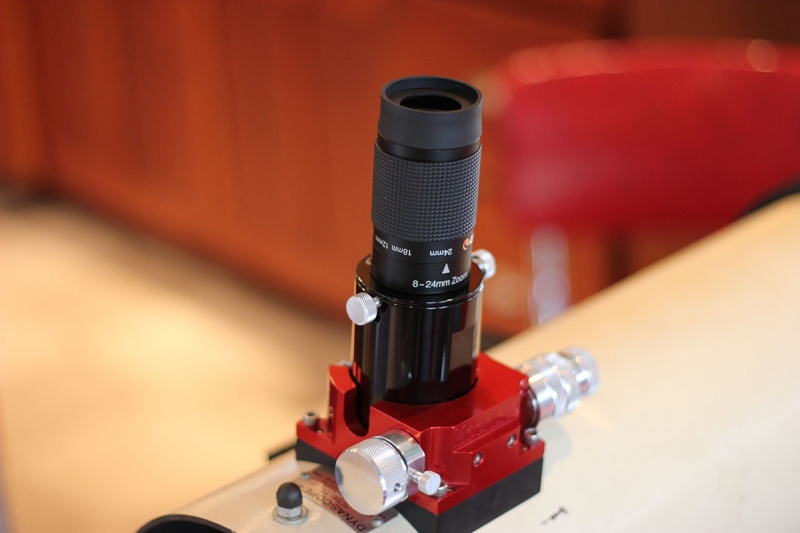
This worked out great! Focus for my Canon was actually now about a half to quarter inch above the top of the focuser now. Right where the picture above shows it.


And here it is with my only 1.25″ eyepiece, not bad looking! Only problem is that when flipping the mirror frame to push the prime focus location further out, now the eyepiece is just barely in focus when the drawtube is fully extended.  So now I need to shop around for a one inch drawtube extension to fix that. But, no more wobbly or dropped eyepieces or DSLR’s! Now the old RV-6 can be used for another 50 or more years to come.


EDIT:

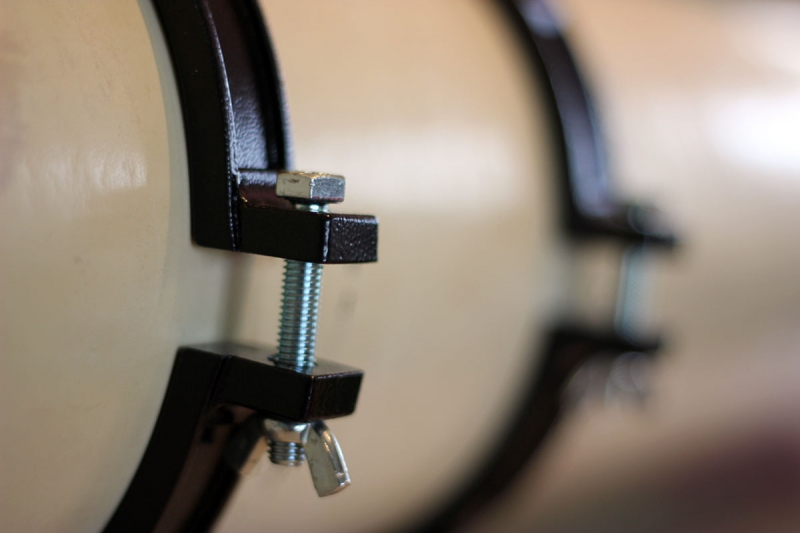
When I got the telescope it was missing its tube rings and apparently no one sells 7.5 inch tube rings which was a bit of a problem. Its sort of important that you telescope can be mounted on its mount if you plan on getting anywhere. For any RV-6 owners out there that are missing their tube rings, you can use a set of modified Orion 182MM Tube Rings. The rings are not rotatable and the hole on both size of the hinge where you bolt them together is threaded. Also, the OD of the RV-6 tube is around 7.5 inches, the diameter of the Orion rings are 7.16 inches which makes things tight.

Good news is that its super easy to get around this. I ended up drilling out the threads on one half of the rings (the side the wingnuts are on) and then bought a pair of wingnuts and some 2 inch bolts. This way the tube can rotate with no issues. You could also get away with just using a smaller diameter bolt that was longer, and maybe just epoxy the bolt head end so that it cant spin when you adjust the wingnuts.