Broken Blinky, Polaris Track Swap
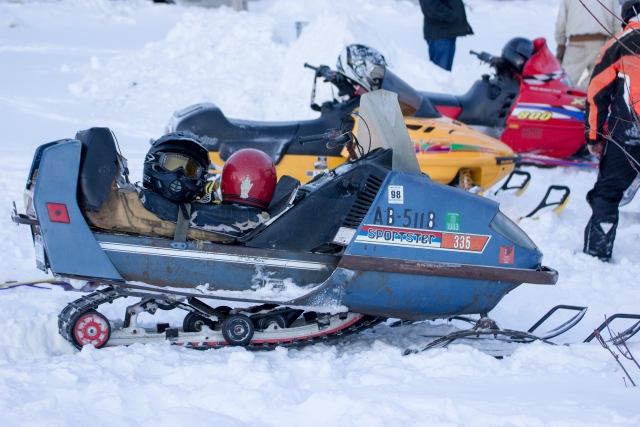
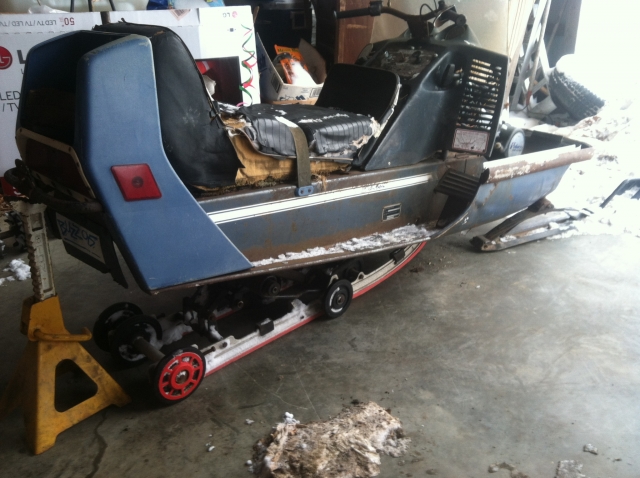
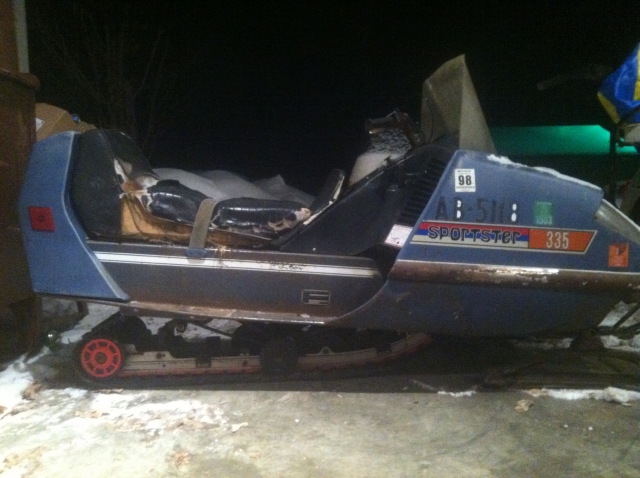
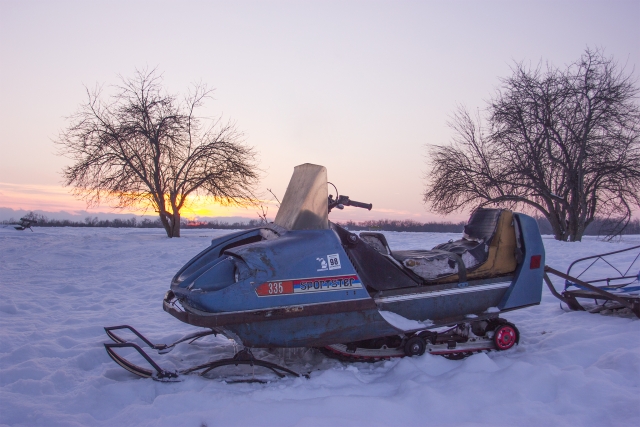
Blinky, my wonderfully horrible looking old 71′ Sears Sportster, decided back in January on one of those -40F days that it would be fun to lock up its track about a mile from home. I hopped on it that night since for the most part its always been very reliable and also in part because its the only one that runs right now with a headlight. So while out scouting down the road to see if I could make it to work or if the drifts had closed the road in yet, it decided to stop moving. And then I walked home, which was the coldest walk that I had ever experienced.
On the way back I had plenty of time to think. The Sears is pretty much worthless and it came down to finally scrap it and put it out of its misery, or fix it. For some reason I really like it, so scraping it no matter how tempting of a thought at the time was not really in the cards (Also it has a lifetime historic snowmobile trail pass). So what to do with a rusted old ugly sled that I paid $15.00 for, which at that time was already considered scrap metal?
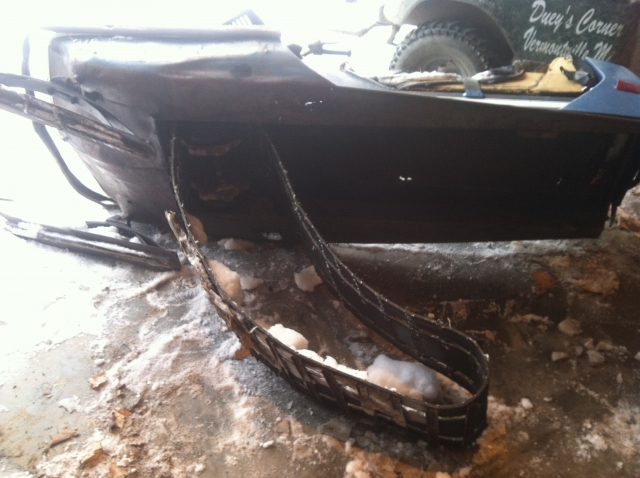
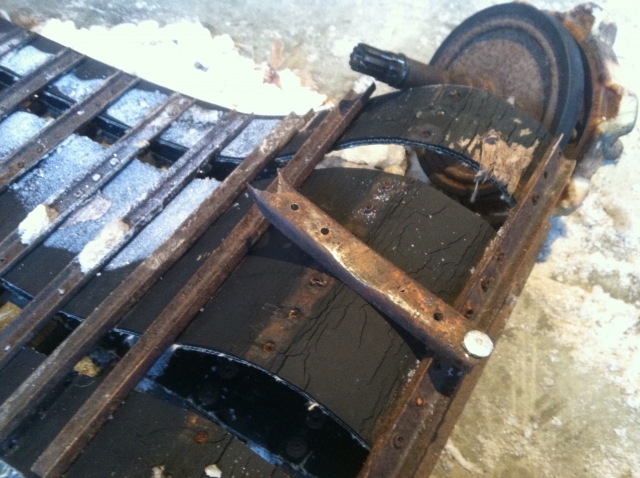
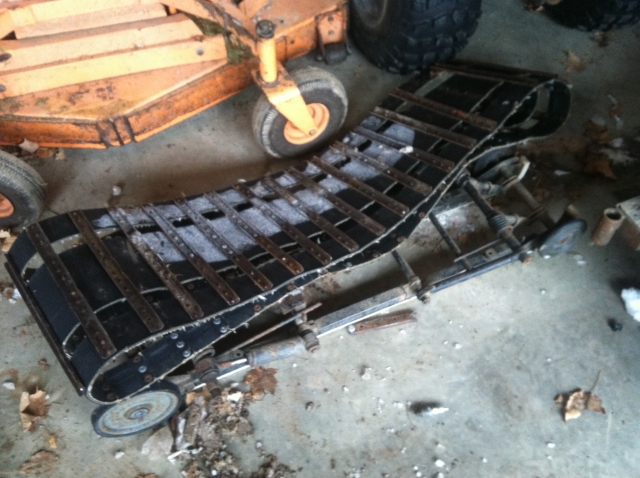
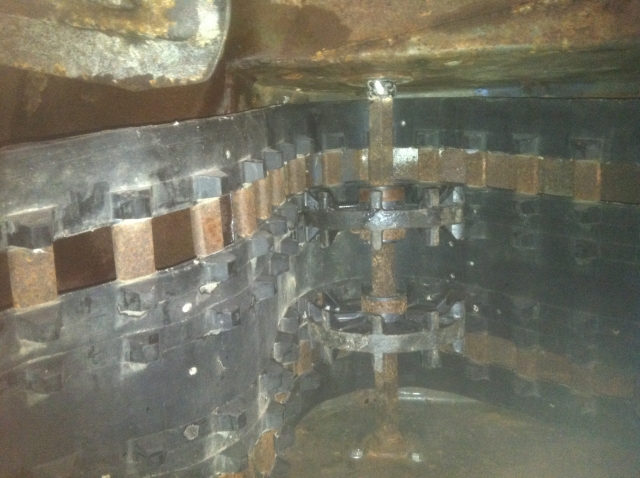
Well, replacing that drive bearing meant taking the track out along with the old drivers. The bearing its self would probably run around 20-50 dollars. Blarg. So the track on that thing is awful as well. Its all dry rotted, cracked and stretched. The track drivers are also not long for this world. So crap I thought. In the end, I wound up at Great Lakes Snowmobile Salvage again, and Paul being awesome as always helped me pick out some newer drivers, a skid, and a new track. So now its just a matter of upgrading Blinkys old outdated drive line to something slightly more reliable and modern.
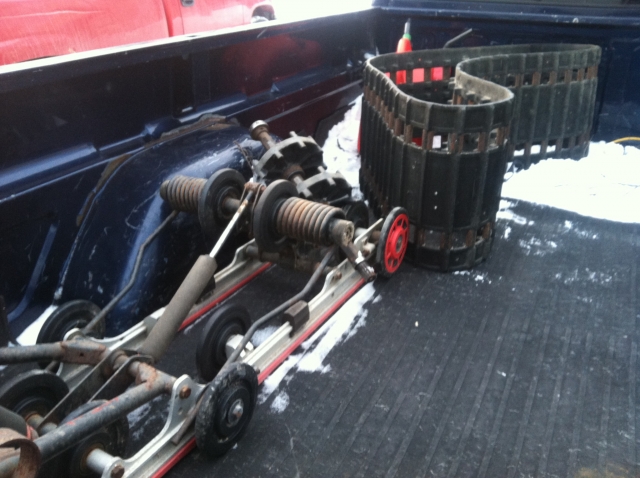
And the shiny new parts from a 97′ Indy ready to be Frankensteined into Blinky.
Edit: 2-14-14
Wee, more progress.
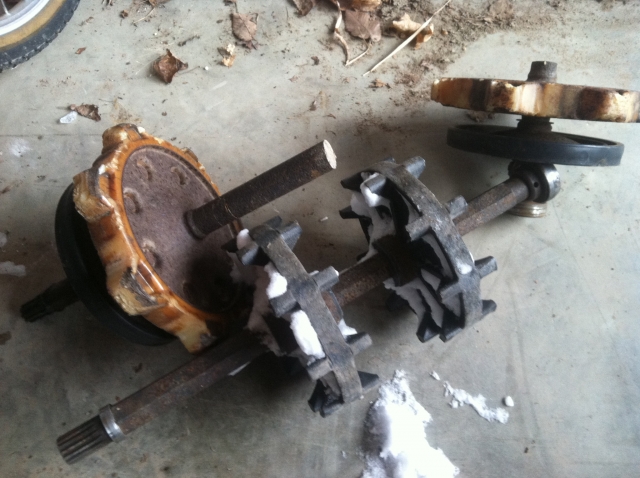
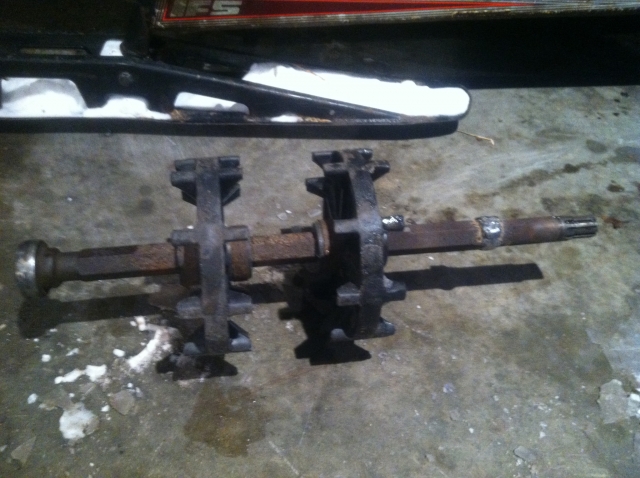
So anyways here’s whats been removed
Here is the Pile O’ Driveshaft ready to be morphed together
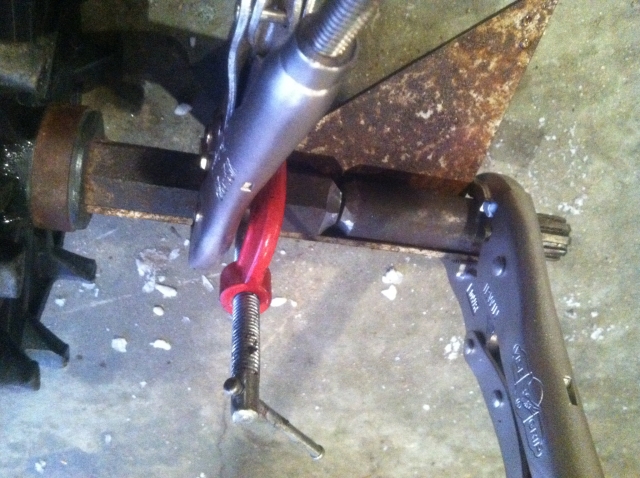
Super scientifical clampification for maximum alignment. I did not measure any of this, it was cold. I placed both shafts on the ground centering the drivers from both so that they lined up/were centered. This showed that the bearing on the right hand side was in the same location, but the newer shaft was about 2-3 inches too short. So, I looked at both shafts, eyeballed and scratched a straight mark on the two by the splines and then cut the suckers up. Then using some 90 degree gussets I had I clamped and aligned them to the edges on the hex shaft so that it formed a nice square channel. After that since the shafts were the same diameter I just butted them up, clamped them down, and started welding.
If you were going to do this properly I would recommend actually measuring things, turning the cut ends down, and then drilling a centering pilot hole on both so you could drop a stud/peg in the center of the shafts and keep them square. Also before putting them together it would be a good idea to get a section of heavy pipe/tube that just slips over the shafts and slide it off to the side. Then after they are welded together, you could grind the welds flush, slide the pipe/tube over the joint, and then weld that over as a sort of coupler to help hold everything together. Or just say heck with it and throw it together like I did, which by the way came out nice and true with no wobble.
Holy cow it fits!
Looks a bit like an old man wearing neon running shoes.
Everything looks good, last major thing is going to be getting 4 new holes drilled for the skid. But getting closer!
Edit: 2/15/14
Onwards!
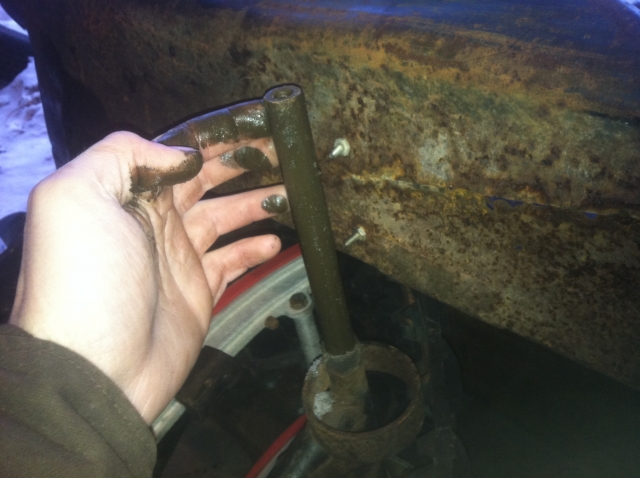
So here is my nasty greasy hand holding one of the skids mount rods. It turned out that the new rods on the new skid where threaded for metric bolts. So instead of trying to locate a set of those I just swapped rods with the old skid that used standard threaded bolts.
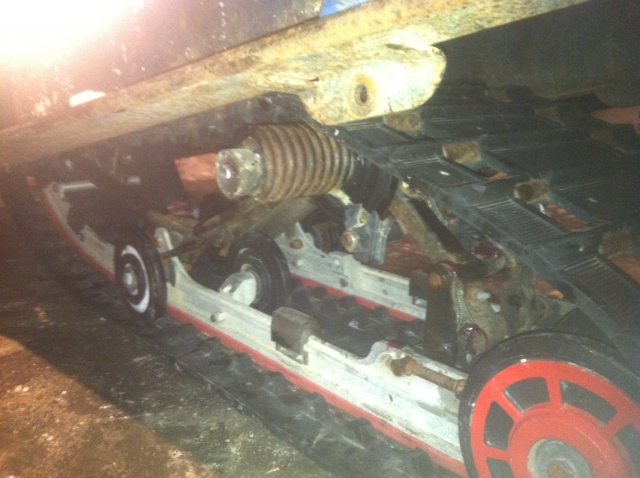
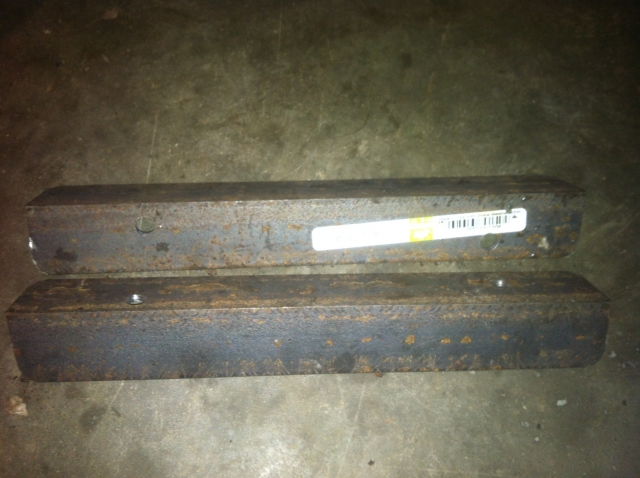
I broke down and bought a small chunk of angle iron for the new mounts and then drilled the holes out on them. Also made sure to round off the corners since this is going to be down under the floor boards of the sled and if you ran over your leg or something the sharp hard edge could tear a good size gash. To mount the skid/make the brackets I first drilled two new front holes about 3 inches in front of the existing holes, and then bolted the skid in. The rear then swung up into the tunnel and I just lined the angle iron up with the old mounting tab/hole so that it extended forward to where the rear mounts of the new skid would be.
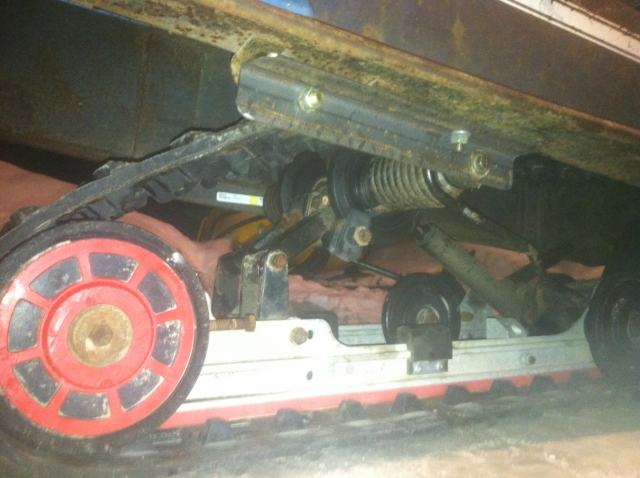
Better picture of it. Just a junk of angle bolted to the old holes in the back, and then the new holes in the front. Figured this would work good, and just to make sure that it stayed in place I drilled hole through the floor board and bolted the bracket down there as well. There shouldn’t be a lot of pull down force on this, mostly just pushing up into the tunnel, which the bracket should spread the force out fairly good over the area of the floor boards.
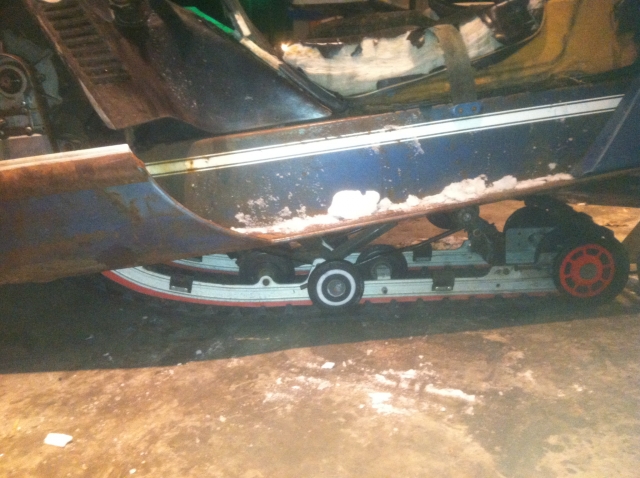
The final product! It is about 20 lbs lighter in the rear now and sits quite a bit taller. I have not had a chance to ride it yet to see if the ski pressure/balance is correct on it, but it should be fun. If its out of wack more holes can be drilled.
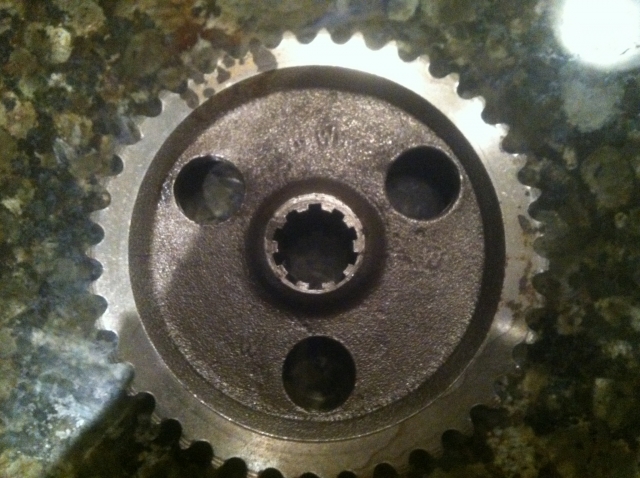
Also I noticed that the drive sprocket is way out of wack. Its perfectly round, but the center hole is not in the center and there is a lot more flat gear face at the bottom then there is at the top. Must have been machined on a Friday.
So hows it work? Pretty darn good, much better then the cleats. The new track makes the back of the old Sears Sportster quite a bit lighter, and also raised the center of gravity a little bit. Out in the deep snow it gets up and moves much better then it used to with its original skid. While its still not quite floating on top of the powder, its also not burrowing its way under the snow. Also it seems like it has a better time getting its power to the ground where it needs to be. So all in all it was a good mod, one that I will do again when I get around to fixing up the old Fox Trac.

